Step 1
If not already, follow Setup and Start on how to Install and get Started with Visual Studio 2017 or in Windows 10 choose Start, and then from the Start Menu locate and select Visual Studio 2017.

Step 2
Once Visual Studio Community 2017 has started, from the Menu choose File, then New then Project…

Step 3
From New Project choose Visual C# from Installed, Templates then choose Blank App (Universal Windows) and then type in a Name and select a Location and then select Ok to create the Project

Step 4
Then in New Universal Windows Project you need to select the Target Version to be Windows 10 Creators Update (10.0; Build 15063) and the Minimum Version to be at least Windows 10 Anniversary Update (10.0; Build 14393) or Windows 10 Creators Update (10.0; Build 15063)

Step 5
From the Menu choose Project, then Add New Item…

Step 6
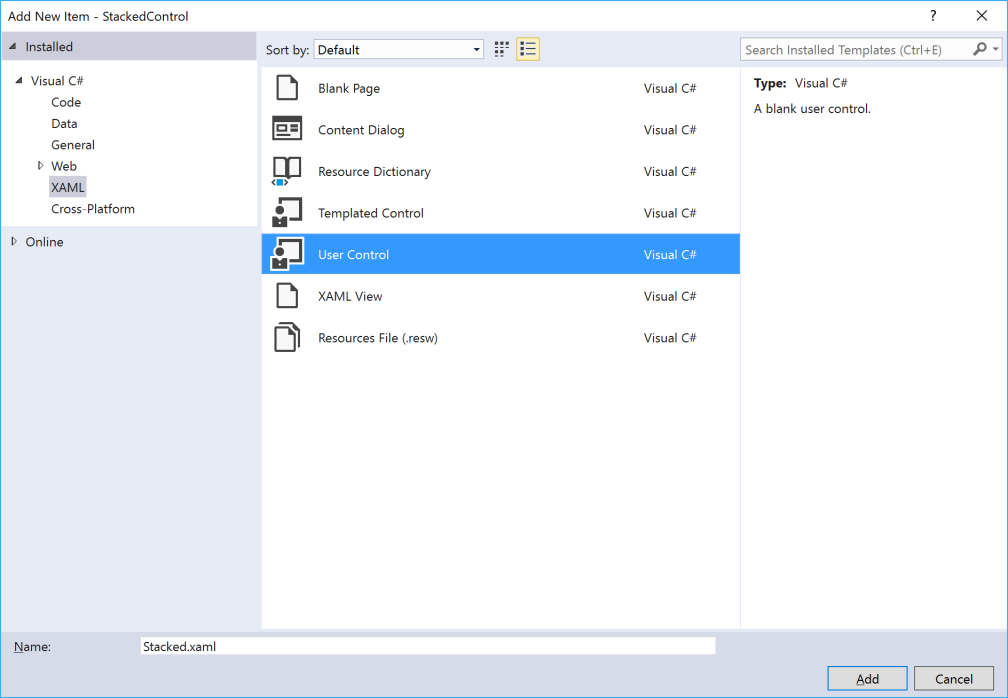
From the Add New Item choose Visual C# from Installed then choose XAML then select User Control and then in the Name as Stacked.xaml and then select Add to add the file to the Project
Step 7
The Design View will be displayed along with the XAML View and in this between the Grid and /Grid elements, enter the following XAML:
<Viewbox>
	<Grid Name="Display" Width="100"/>
</Viewbox>
It should appear as such:

Step 8
From the Menu choose View and then Code

Step 9
Once in the Code View, below the public Stacked() { … } the following Code should be entered:
private List<Windows.UI.Color> _palette = new List<Windows.UI.Color>();
private List<double> _items = new List<double>();

private List<double> Percentages()
{
	List<double> results = new List<double>();
	double total = _items.Sum();
	foreach(double item in _items)
	{
		results.Add((item / total) * 100);
	}
	return results.OrderBy(o => o).ToList();
}

private Windows.UI.Xaml.Shapes.Rectangle GetRectangle(Windows.UI.Color colour, int column)
{
	Windows.UI.Xaml.Shapes.Rectangle rectangle = new Windows.UI.Xaml.Shapes.Rectangle()
	{
		Height = 10,
		Stretch = Stretch.UniformToFill,
		Fill = new SolidColorBrush(colour)
	};
	rectangle.SetValue(Grid.ColumnProperty, column);
	return rectangle;
}

private void Layout()
{
	List<double> percentages = Percentages();
	Display.ColumnDefinitions.Clear();
	for (int index = 0; index < percentages.Count(); index++)
	{
		double percentage = percentages[index];
		ColumnDefinition column = new ColumnDefinition()
		{
			Width = new GridLength(percentage, GridUnitType.Star)
		};
		Display.ColumnDefinitions.Add(column);
		Windows.UI.Color colour = (index < _palette.Count())
			? _palette[index] : Windows.UI.Colors.Black;
		Display.Children.Add(GetRectangle(colour, index));
	}
}

public List<Windows.UI.Color> Palette
{
	get { return _palette; }
	set { _palette = value; }
}

public List<double> Items
{
	get { return _items; }
	set { _items = value; Layout(); }
}
Step 10
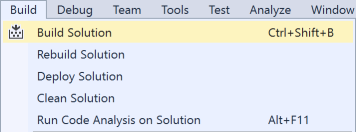
From the Menu choose Build and then Build Solution
Step 11
Then in the Solution Explorer select MainPage.xaml

Step 12
From the Menu choose View and then Designer

Step 13
The Design View will be displayed along with the XAML View and in this between the Grid and /Grid elements, enter the following XAML:
<local:Stacked x:Name="Display" Margin="50" Loaded="Display_Loaded"/>
It should appear as such:

Step 14
From the Menu choose View and then Code
Step 15
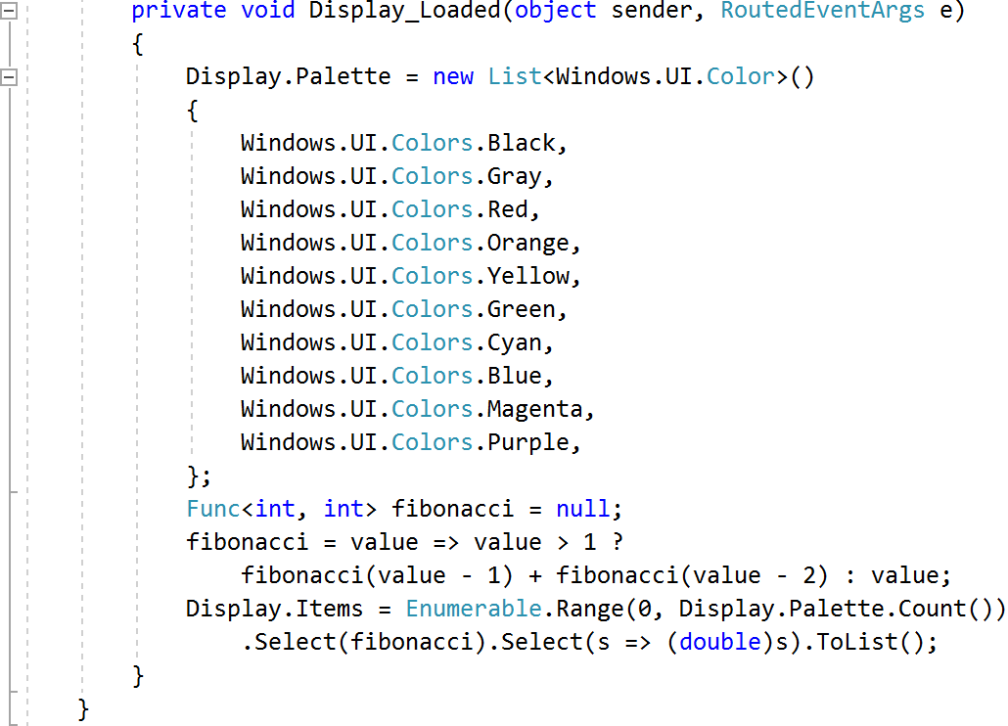
Once in the Code View, below the public MainPage() { … } the following Code should be entered:
private void Display_Loaded(object sender, RoutedEventArgs e)
{
	Display.Palette = new List<Windows.UI.Color>()
	{
		Windows.UI.Colors.Black,
		Windows.UI.Colors.Gray,
		Windows.UI.Colors.Red,
		Windows.UI.Colors.Orange,
		Windows.UI.Colors.Yellow,
		Windows.UI.Colors.Green,
		Windows.UI.Colors.Cyan,
		Windows.UI.Colors.Blue,
		Windows.UI.Colors.Magenta,
		Windows.UI.Colors.Purple,
	};
	Func<int, int> fibonacci = null;
	fibonacci = value => value > 1 ?
		fibonacci(value - 1) + fibonacci(value - 2) : value;
	Display.Items = Enumerable.Range(0, Display.Palette.Count())
		.Select(fibonacci).Select(s => (double)s).ToList();
}
It should then appear as such:
Step 16
That completes the Universal Windows Application so Save the Project then in Visual Studio select the Local Machine to run the Application

Step 17
Once started the Application should then appear displaying a Stacked CHart based on the Palette and the Items set

Step 18
To Exit the application select Stop in Visual Studio
![]()

