Input Dialog demonstrates how to create a ContentDialog with a TextBox in it that you can enter any text and this is used in the tutorial to be displayed in a MessageDialog.
Step 1
If not already, follow Setup and Start on how to Install and get Started with Visual Studio 2017 or in Windows 10 choose Start, and then from the Start Menu find and select Visual Studio 2017.

Step 2
Once Visual Studio Community 2017 has started, from the Menu choose File, then New then Project…

Step 3
From New Project choose Visual C# from Installed, Templates then choose Blank App (Universal Windows) and then type in a Name and select a Location and then select Ok to create the Project

Step 4
Then in New Universal Windows Project you need to select the Target Version this should be at least the Windows 10, version 1803 (10.0; Build 17134) which is the April 2018 Update and the Minimum Version to be the same.

The Target Version will control what features your application can use in Windows 10 so by picking the most recent version you’ll be able to take advantage of those features. To make sure you always have the most recent version, in Visual Studio 2017 select Tools Extensions and Updates… then and then see if there are any Updates
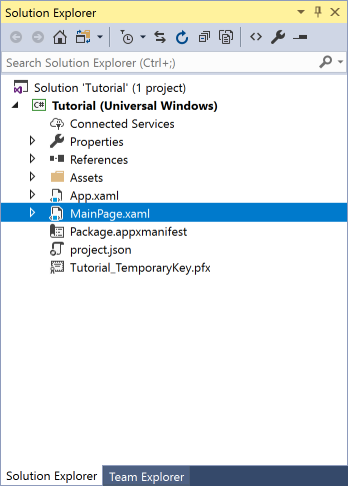
Step 5
In the Solution Explorer select MainPage.xaml
Step 6
From the Menu choose View and then Designer

Step 7
The Design View will be displayed along with the XAML View and in this between the Grid and /Grid elements, enter the following XAML:
<Button Content="Display" HorizontalAlignment="Center" Click="Button_Click"/>
The Button will be used to trigger a Click Event called Button_Click
Step 8
From the Menu choose View and then Code

Step 9
Once in the Code View, below the end of public MainPage() { … } the following Code should be entered:
private async void Button_Click(object sender, RoutedEventArgs e)
{
	TextBox input = new TextBox()
	{
		Height = (double)App.Current.Resources["TextControlThemeMinHeight"],
		PlaceholderText = "Display Text"
	};
	ContentDialog dialog = new ContentDialog()
	{
		Title = "Input Dialog",
		MaxWidth = this.ActualWidth,
		PrimaryButtonText = "OK",
		SecondaryButtonText = "Cancel",
		Content = input
	};
	ContentDialogResult result = await dialog.ShowAsync();
	if (result == ContentDialogResult.Primary)
	{
		input = (TextBox)dialog.Content;
		await new Windows.UI.Popups.MessageDialog(input.Text).ShowAsync();
	}
}
The Button_Click is an Event that will be triggered when the Button is Clicked. Within this is a TextBox which will be used to get Input from the Dialog and the Content of the ContentDialog is set to this which is displayed with the ShowAsync Method and if the ContentDialogResult is returned as ContentDialogResult.Primary which is the OK option then the Content is retrieved and displayed itself in a MessageDialog or if Cancel is selected the dialog will be closed.
Step 10
That completes the Universal Windows Platform Application so Save the Project then in Visual Studio select the Local Machine to run the Application

Step 11
Once the Application has started running you can then select Display and then type in some Display Text to show in a Dialog when you select Ok or to just close the Dialog select Cancel

Input Dialog uses ContentDialog where a TextBox is used as the Content that has its Height set to a standard Application Resource which is the Minimum height of a Text Control in Windows 10 called TextControlThemeMinHeight it also some PlaceholderText set which is text that appears in the background of the TextBox, ContentDialog also has the Title and the MaxWidth of the Dialog that will be shown set.
Step 12
To Exit the Application select the Close button in the top right of the Application
![]()
In Universal Windows Platform all dialogs are displayed asynchronously, this means they might not be shown or that the response may not be returned immediately, the await keyword is used to wait for a result from a dialog or just to display it with the ShowAsync(). There’s just a single button that makes up the MainPage of the example which is a Button that will display the ContentDialog, there it will show a dialog with the TextBox and any text may be entered there before selecting OK to then show a MessageDialog with the entered text.

